A gravity bong is a powerful way to smoke cannabis, but did you know that you can make your very own at home using a plastic bottle?
In this guide, we’ll show you step-by-step how to make a gravity bong. This is a totally unique concept that can give you strong hits and get you higher.

As you probably know, professional-grade gravity bongs can be quite expensive, so this simple method will save you money and allow you to make a gravity bong in about 5 minutes using nothing more than common kitchen supplies.
Table of Contents
How to Make A Gravity Bong in 8 Steps (DIY):
Making a gravity bong is as easy as making a sploof or a joint at home. In fact, you could probably make a whole DIY-style bong by the time your newbie friend rolls a single joint.
You won’t need to steal your dad’s machinery for this. You’ll only need household items like scissors which everyone has.
Your total investment in this bong could be as low as $3-4. It could even be free if you have all these tools at hand. With that said, let’s get into it:
Step 1. Gather the Tools
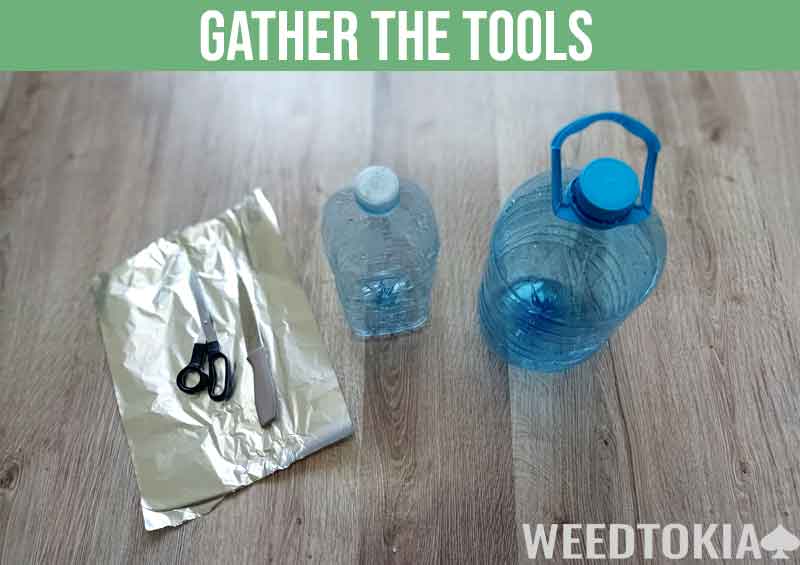
Making a gravity bong is simple as it only requires a couple of basic household items. You need the following tools to make a gravity bong:
- Two water bottles (one big, one small)
- Cutting tools (scissors or knives work)
- Aluminum cooking foil
- Needle or screwdriver
- Weed
- Lighter
The first items on the agenda are the two plastic bottles. We recommend a large one and a small one because they can be found at most supermarkets.
You could technically do this even with small bottles, but it’s not recommended because they’ll limit the amount of hits you can take once you pull it up.
Of course, you can easily find empty water or Coke bottles at home. Try to use bottles that don’t have PET (polyethylene terephthalate). This is one of those nasty chemicals that can get into your lungs when the gravity bong is heated.
The next item that you are going to need is a cutting tool. You’ll be cutting down large water bottles, so make sure your knives are sharp.
Warning: Do not underestimate the strength it takes to cut up a water bottle. Always be careful when handling knives or scissors to cut plastic bottles.
The knives will help you cut up those two bottles so you can place the smaller one inside of the larger one.
You’ll also need things to expand the holes and poke holes in aluminum foil later. This can be a needle, drill, screwdriver, or anything that can make a hole.
A small piece of aluminum foil is the last tool you need. Get to your kitchen and tell your mom you need aluminum foil to bake cookies. She’ll find you one and save you a trip to the store.
Step 2. Cut the Small Bottle
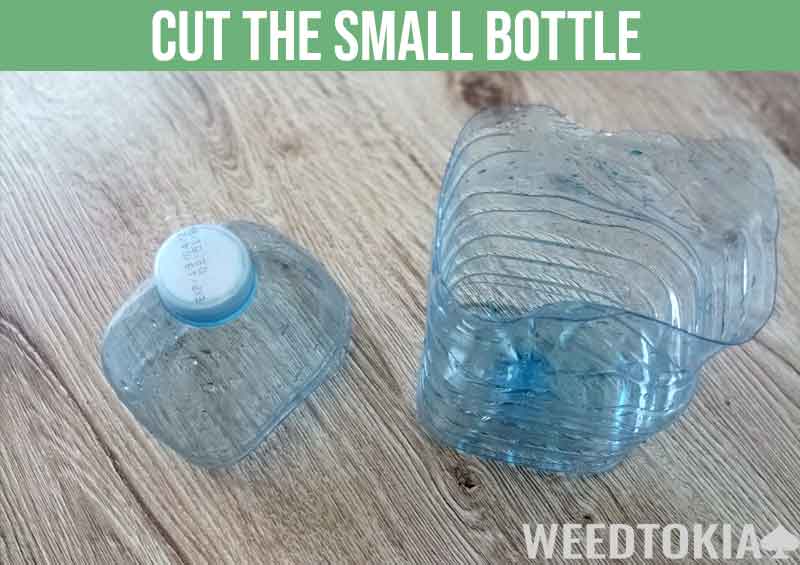
We assume you got two bottles at the supermarket, one big and one small. Let’s start cutting down the smaller one because it’s easier to do first.
Make sure this bottle can fit inside the big bottle, or don’t cut up your bottles at all because the bong won’t work.
Find a spot somewhere a quarter to half from the bottom and mark that place down. You basically want to cut the bottom part on this one.
Cut at about 2/3s length from the bottom up. You need the top part of the bottle, like in our picture. This bottle will hold the weed/tobacco and produce the smoke.
It is important to understand that a gravity bong has two parts, the body part and the bowl. You just made the bowl.
Step 3. Cut the Big Bottle
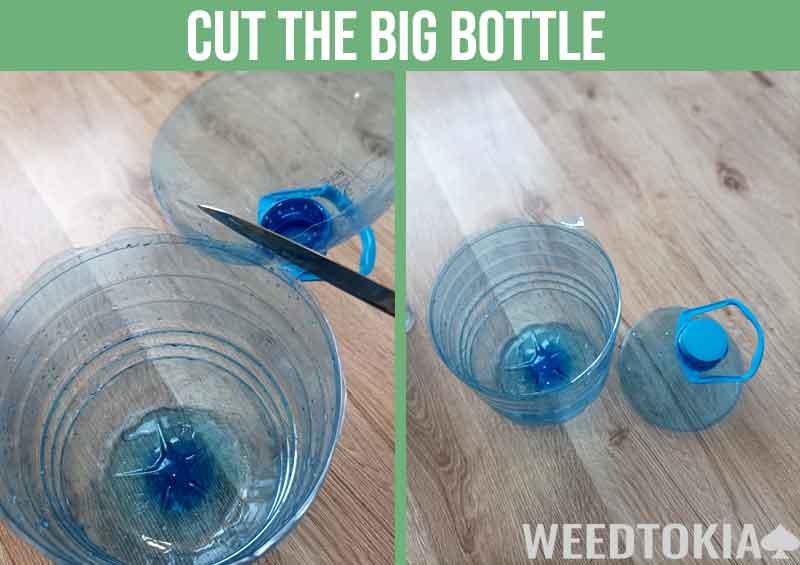
Time to cut up the big boy. This is that 1.3 gallon bottle you struggled to bring back home because it’s so damn heavy.
Here, measure half from the top and cut somewhere in the upper half, but not so low that the smaller bottle is taller. The idea is to get rid of the top part of the big bottle so you can sink the smaller bottle inside with the upper half of the smaller bottle.
Once you cut it, throw out the top part because you don’t need it anymore.
The bottom part of this bottle will hold the water. You just made the body part of your bong.
Alternatively, you can use a small bucket or pot if you do not want to do extra work on cutting the bottle.
Step 4. Fill the Big Bottle With Water

Now let’s get to the fun part. We can start filling up the bigger bottle (or what’s left of it!) with water.
Stop till the water reaches half or slightly more than half. It will provide enough gravity for the bong without spilling.
If you go over that amount, it’ll just spill over and you won’t make it better in any way.
Step 5. Cut Up Aluminum Foil
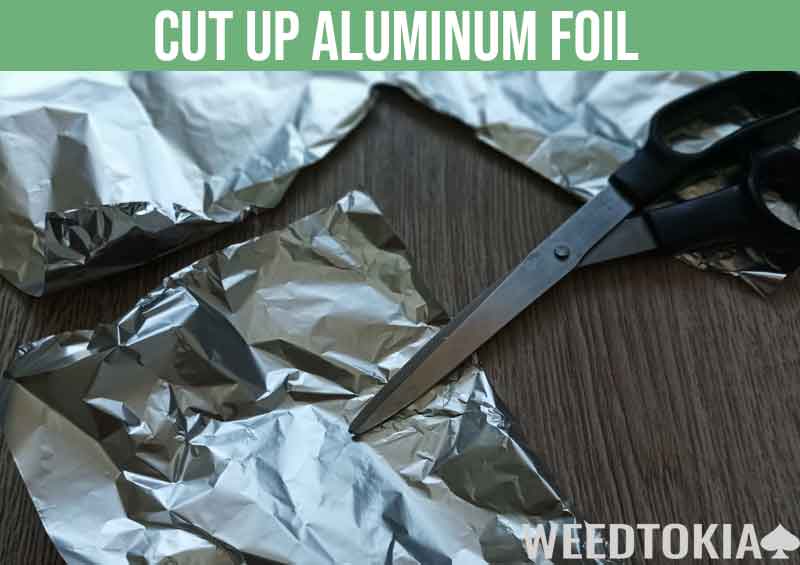
Go to your girlfriend and tell her you need aluminum cooking foil from the kitchen. This will get the job done.
Cut a small square of aluminum foil with scissors, or tear it up by hand. The scissors method is cleaner, and it won’t mess up your foil.
As far as length, it should be small(ish) and square-like so you can put it inside the rim of the smaller bottle.
Note that this is a popular way of doing it, but it’s also a health hazard due to the contents of aluminum, so this is NOT something you should do on the regular.
The alternative is to replace it with some circular metal or thimble that can hold the smoking material.
Step 6. Place the Foil In The Small Bottle Rim
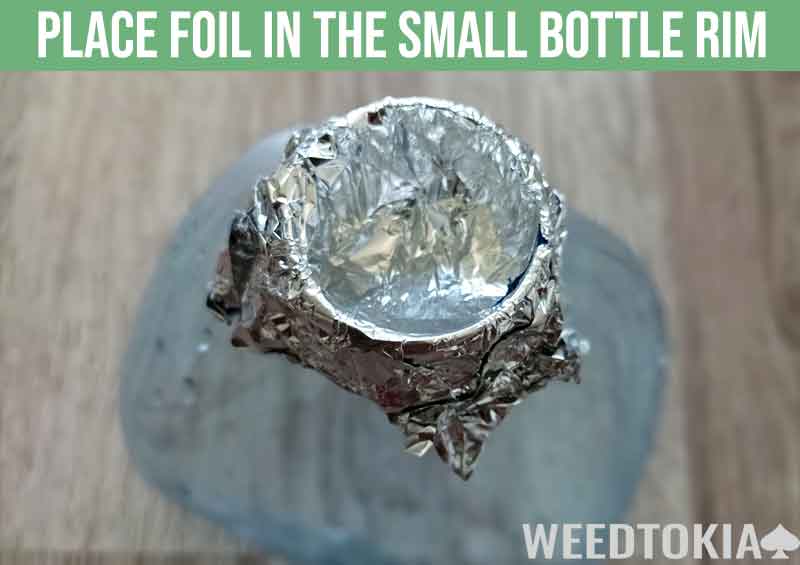
Remember you left the top of the small bottle? Throw out the bottle cap and leave it with an empty rim first.
Now take that aluminum foil you cut up a while ago and gently press it inside the rim of the smaller bottle.
This is going to allow you to take hits later on because you’ll be submerging the smaller bottle into the bigger bottle and drawing gravity.
Make sure the foil molds beautifully with the rim of the bottle because it can affect the quality of your hits. Use your fingers to gently press it down around the edges.
Step 7. Poke Holes in The Folio
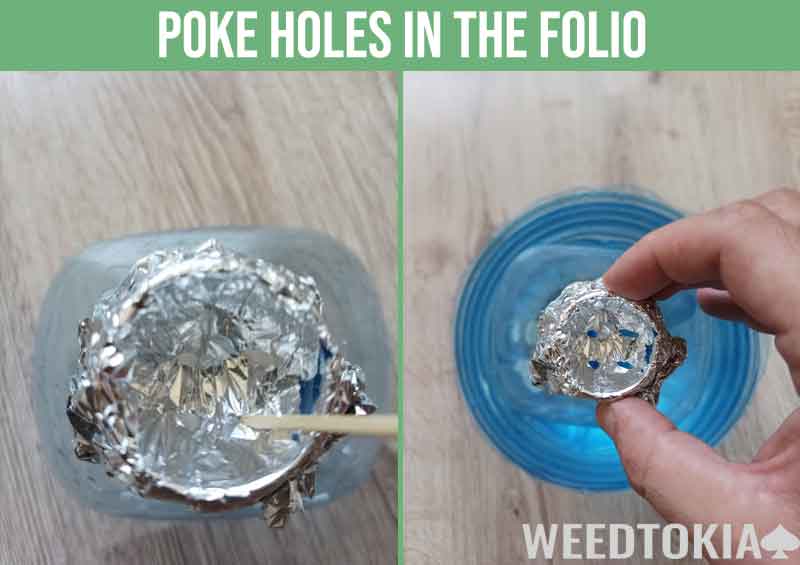
Take a small toothpick that won’t leave giga holes inside your aluminum foil. You want to poke between 4-6 holes inside that tiny space like in our picture.
Be gentle. This can mess up your folio, so you’ll have to start all over again and cut it up. This happened to me a lot when I first tried it. I had to put new folio in.
The holes should not be too close to each other, or they’ll literally tear up, and your weed will fall inside the damn bong.
Moreover, the weed can fall into the water and go to waste.
Now that you have the holes, you can place some weed on top. Hell, you can even mix tobacco in.
This is where you’ll light up the bong when you’re ready to start smoking.
Step 8. Add Smokable Material to the Bowl
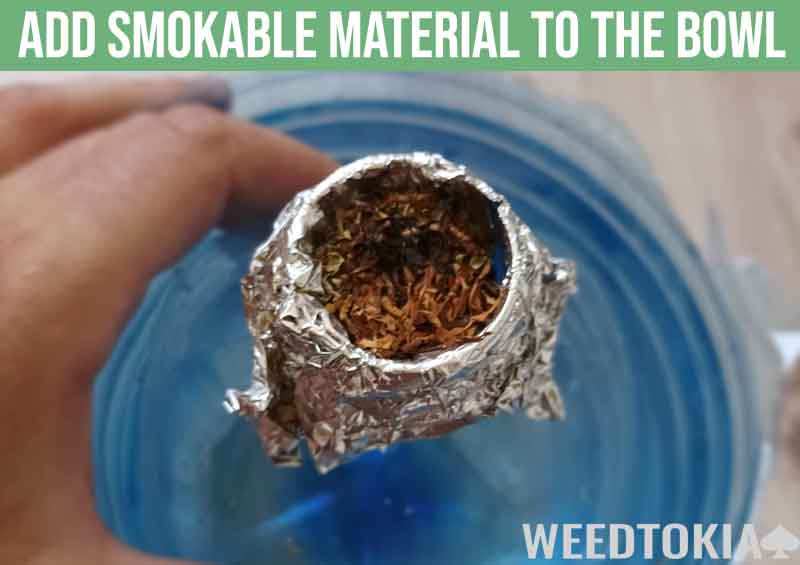
I say “smokable material” because you’re not limited to weed here. You can put in anything that burns (tobacco, hash, etc).
Grind whatever you’re smoking down until it’s in small pieces. Notice how tiny the pieces are in our picture. If you have big pieces, the air can push them out as soon as you sink the bowl.
Place them gently inside the bowl (basically the aluminum foil). You don’t need a lot of weed to make this work.
Pro Tip: Experiment with something low-risk so you don’t lose your expensive weed because you’re likely to mess this up on the first try. Break up some cigarettes and get the tobacco out of there, then try to take a hit with tobacco.
It’ll work on the same principle, except you won’t get high.
Also, don’t worry about the folio burning up, it’s designed to be used in ovens, so your lighter won’t set it on fire. (You still shouldn’t be stupid and intentionally try to set it on fire!)
If you want to get right into it, distribute the weed inside the foil evenly. Don’t put too much in, or the gravity of the air will blow it out when you pull up. Make sure it’s concentrated near the center so it doesn’t spill out.
You can mix weed with other smokables that you like here; it’s all about personal preference. I like to mix mine with raw tobacco so I can get a THC and nicotine hit at the same time.
Once you’ve loaded your smokables, you can get to the trickiest part of all, which is…
How to Use Your New Gravity Bong: 3 Steps
A gravity bong consists of two parts: Body and bowl. The body is the large container with all the water, and the bowl is the smaller container with the aluminum foil and weed.
To use a gravity bong, load the small container with weed and light it up while pushing it down on the big container. Then as you push it up, smoke will be captured in the upper chamber, and you take a hit.
You want these two containers to be merged for maximum effects.
1. Sink The Bowl To The Body
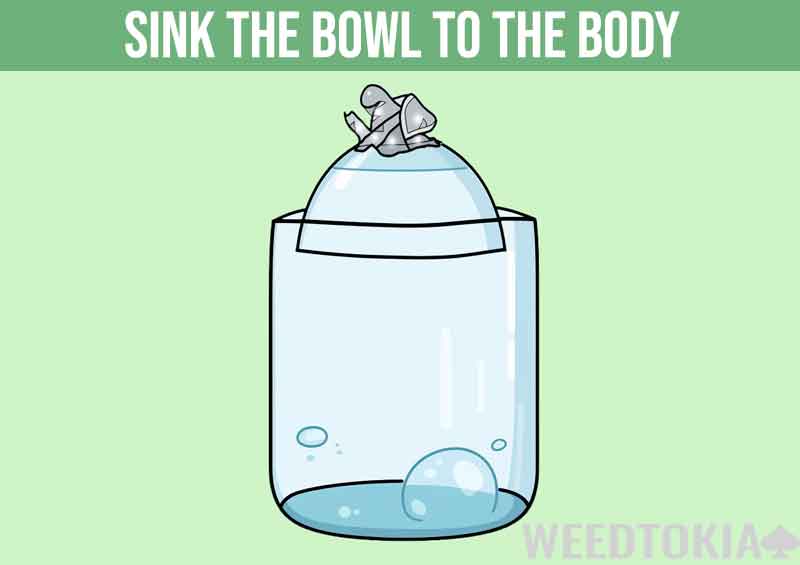
If you only made the bongs, but didn’t merge the two pieces together, start doing that. You have to sink the upper (bowl) into the lower container (body) of the bong.
The lower container should be filled with water too. The reason you cut them in the first place is to make them work together like that.
If you are dry, throw the bowl inside while the body is filled with water, and try pressing down from the top. Notice what happens.
Now imagine the effects when you actually light up and there’s folio on top.
2. Light It Up And Pull Up
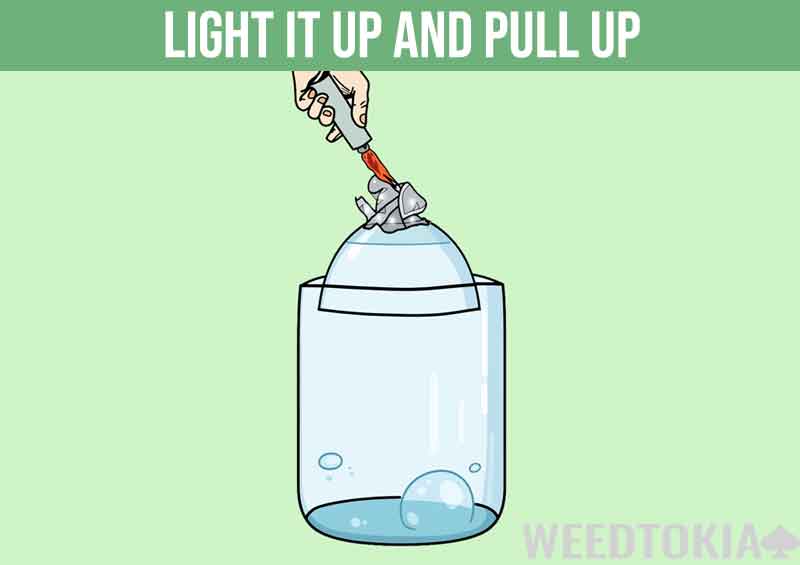
You’ll need to do this simultaneously. Use one hand to light up the weed and another hand to pull up the whole smoke chamber (the small bottle you cut off).
If you’re right-handed like me, grab your lighter with your right hand and light up the weed inside the folio from the top-down while trying not to burn the folio that much. Aim.
This is where it gets tricky: While you’re lighting it, you have to pull up on the smaller bottle so it contains air inside the chamber as you’re pulling it up.
Do NOT forget to fully sink it in the big bottle before you light up, or you won’t get the bong effect.
This is where this takes shape and looks like a geeky science experiment – as you pull it up, you’ll notice the effects of gravity.
The smoke chamber will start to capture all the smoke, which will have a white appearance.
The amount of smoke captured inside will vary based on the size of your bottle, how much weed you put in, and other factors.
3. Watch The Bowl Turn White
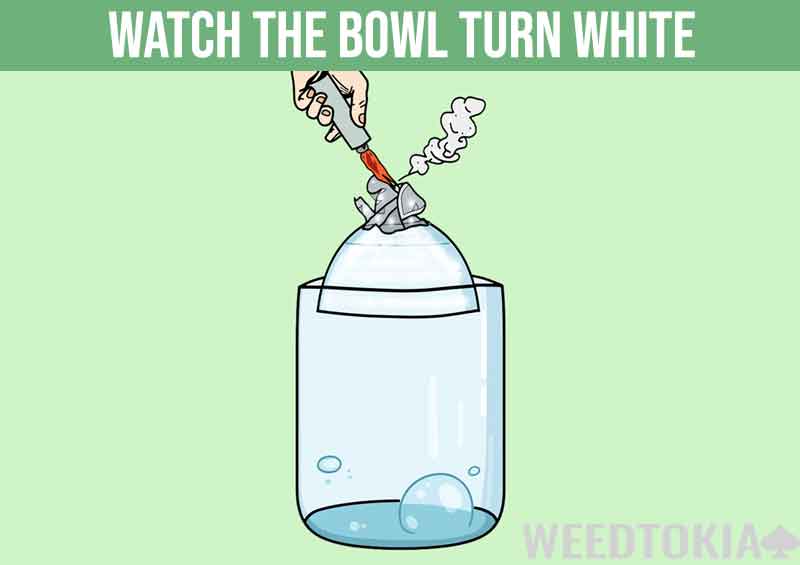
The smoke will now be captured in the bowl (smaller bottle) once you pull it up. This will look white or grayish because all the smoke will be captured inside the smaller bottle as you pull it up.
Expect massive smoke.
You can now take hits by either inhaling above the folio or removing the folio and inhaling over the rim like you’re drinking soda.
These hits will be huge so take it slow. Even a professional will cough here, and don’t be surprised if you feel overwhelmed.
This is an actual bong made from simple materials at home, so treat it with respect and don’t overdo it.
How to Make The Bong Better?
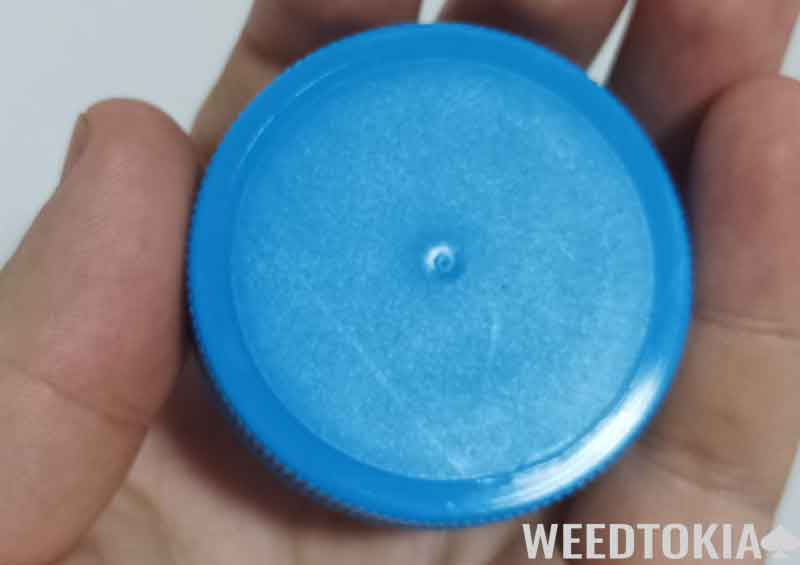
Get a bottle with a bigger cap to make the bong better. Also, a bigger bong bottle will give you more smoke, so you can take bigger hits.
If you have a bowl (small bottle) with a big lid, you can stuff more weed inside the folio. If you get a regular-sized bottle, you’ll have limited space with the grams you can stuff in there.
I’d say go for those sporty sodas that have big caps. If you can’t find that, you’ll still do fine with a regular bottle cap.
You’ll need a powerful lighter to light it up because you’ll be lighting it sideways. I burned my fingers lighting my first bong because you have to bump the heat settings to the maximum for it to reach inside.
The speed at which you light up and sink your bowl can also have an effect on the quality of your smoke. As soon as the weed starts burning, you have to push it down and push it up.
This motion creates the gravity effect and makes your hits better.
How Powerful Are Gravity Bongs?

A bong is at least twice as powerful as a regular joint (due to the size of the tokes), so a gravity bong can get you high. A gravity bong works on the principle of gravity, and produces immense amounts of smoke that enter your lungs.
The extent to which your lungs are being filled with smoke is much greater than what a pipe or a joint can achieve. Remember that you are practically smoking an entire bowl of cannabis in one shot when you are using a gravity bong.
Sidenote: The only exception is with CBD-heavy strains. If you smoke a CBD strain with sub 1% THC content (i.e., Harle Tsu) with a Gravity Bong, you probably won’t get high as a kite.
The above-mentioned facts are exactly the reasons why gravity bongs are not recommended for newbies.
The THC hit that a gravity bong delivers enough to create an impact that is much stronger than other methods of herbal consumption.
Are Gravity Bongs A Replacement For Real Bongs?
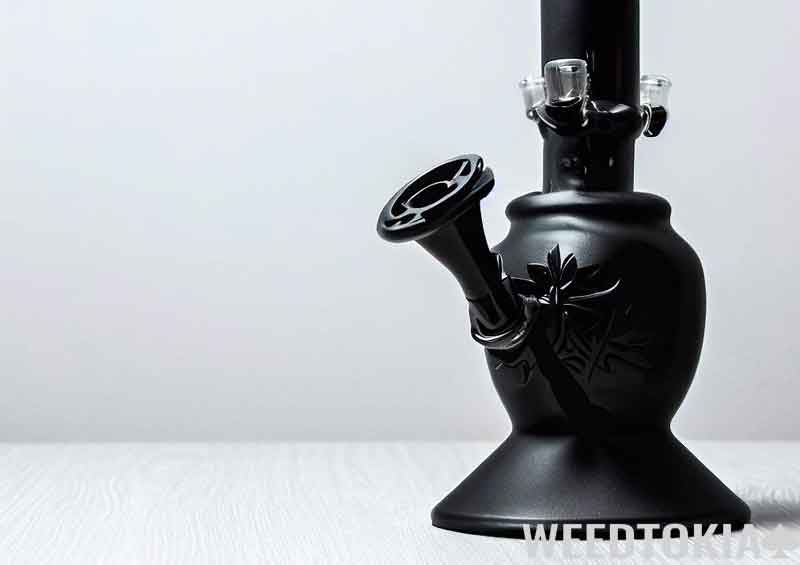
A real bong is a much more healthier device. A home-made Gravity Bong can be harmful to your health, and it’s not recommended for prolonged use. After the first try, you’ll start inhaling the fumes of the plastic.
Never use the same folio more than once. It’ll have burn residue and you don’t want that getting into your lungs.
Treat this bong as a science experiment and use it a fun activity to pass the time with your friend – making it, trying it out, etc.
After a while you’ll want to spend money on a real bong or get yourself one of those manufactured Gravity Bongs (which are rare, btw).
If you’re a stoner and care about your health, you’ll want to smoke out of the best.
Are Gravity Bongs Bad For Health?
Not in the short term, but certainly in the long term. Smoking out of a bong can have harmful effects on health, so it should be moderate. It has minimal impact on health if you use it only twice a week.
It also depends on the type of bong you use. If you use a homemade one in a plastic bottle, you’re exposing yourself to risks much higher than getting one at your dispensary.
Expect to cough the first few times you smoke out of this. In the long run, you can experiment with things like iced water in the bong to see if it makes the hits better. You could even do mild-hot water.
Final Thoughts:
It’s pretty easy to make a gravity bong at home, so knock yourself out and make one. When you start cutting water bottles, it’ll feel like Dexter’s laboratory for weed.
The most amazing feeling is when you see the gravitational attraction of water and smoke as you pull up on the bowl.